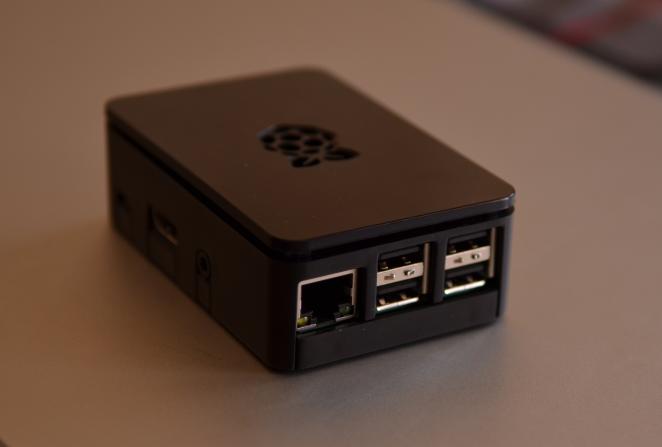
Yes, pre-assembled NAS boxes are easy to set up — plug to a power source, connect to a network, add some extra NAS-optimized hard drives and you’re almost good to go– but some models and brands could sometimes get unreasonably pricey. On the other hand, assembling one yourself is, of course, cheaper and even more intriguing, especially for those who loves to build stuff and get their hands dirty.
What is a Raspberry Pi?
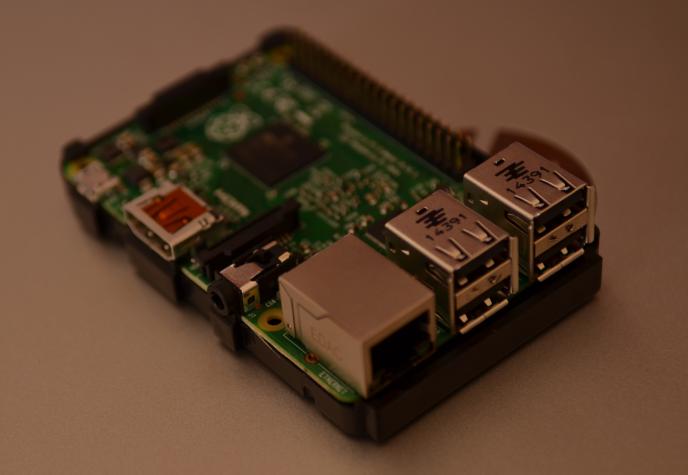
Almost exactly the same size as your bank credit and debit cards, Raspberry Pi is a small computer designed to teach people (kids especially) how to program. A Raspberry Pi costs only between $30 to $40 and is powered by a micro USB charger, loads an operating system from an inserted SD card, and comes with USB ports for connecting a monitor/screen/TV and a mouse. And voila! A computer with a credit card-sized processing unit.
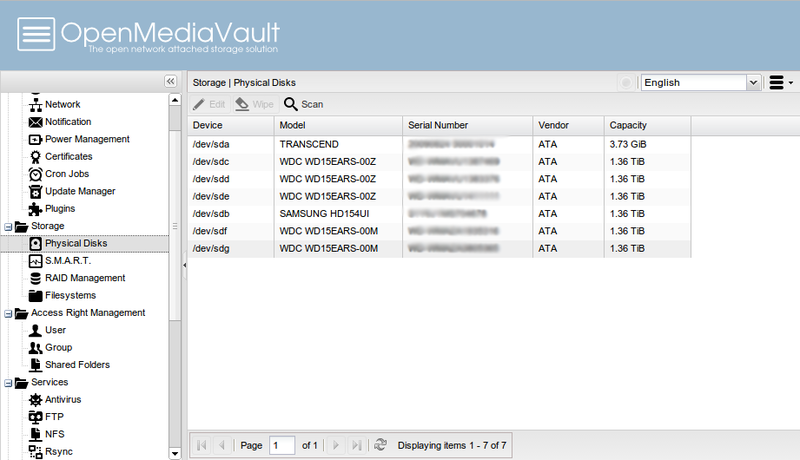
NAS vs Raspberry Pi
Although ultra small, a Raspberry Pi can function just like a regular desktop computer would, with little bit of limitations though. A Network-Attached Storage (NAS) also shares similarities with a Raspberry Pi in that it (NAS) is not just a storage device, but also a computer with its own operating system. Related post: Building a home media center with a $35 Raspberry PI and Kodi However, unlike Raspberry Pi, NAS devices use a lot current (read: power) to stay up and running. Also, they are also costlier. Using a Raspberry Pi as a NAS device means you’d lose out on some advanced features of regular NAS boxes. But from a cost and power consumption standpoint, building your own NAS device using a Raspberry makes sense. But how do you get it done though?
Build your Raspberry Pi NAS device
To build a Raspberry Pi-powered NAS device from scratch, here’s a list of what you’ll be needing:
Raspberry PiRaspberry Pi-compatible OSExternal hard drives / NAS-optimized hard drives.
The Process
Side note 1: The operating system used in this guide is the OpenMediaVault OS. There are other Raspberry Pi-compatible OSes that works too, and you can definitely use them to convert your Raspberry Pi PC to a NAS device. Side note 2: You can still turn a Raspberry PI into a NAS device using the official pre-installed Raspbian or Pixel OS operating system. That’s because a NAS device can use different file sharing protocols to share the data via the network. The main one used is SMB (Server Message Block) because its widely supported on Windows, Linux and Mac. So all you have do is simply install Samba software package which implements the SMB protocol and you are good. This requires advanced Command Line tricks, so if you are an advanced Linux user, better to just go with a NAS-friendly OS like OpenMediaVault that comes with everything installed.
Installing OpenMediaVault (OMV)
Step 1: Download and install OpenMediaVault OS for Raspberry Pi to another computer Step 2: With the ISO image, create a bootable USB drive Step 3: Next step is to connect the external hard drives. For a number of reasons, using NAS-optimized hard drives is advised. Step 4: Switch the Raspberry Pi on after inserting the drives. Step 5: From the list of menu, select “Install” Step 6: Follow the instructions and prompts of the installation wizard till the update is successfully installed.
Post-installation: Setting up NAS
Step 1: Upon successful installation of OMV, the server will automatically reboot. Step 2: Proceed to login to NAS by:
Typing in “root“Hit the “Enter” button on your keyboard
Login credentials are:
User: rootPassword: the same password created during the installation of OMV
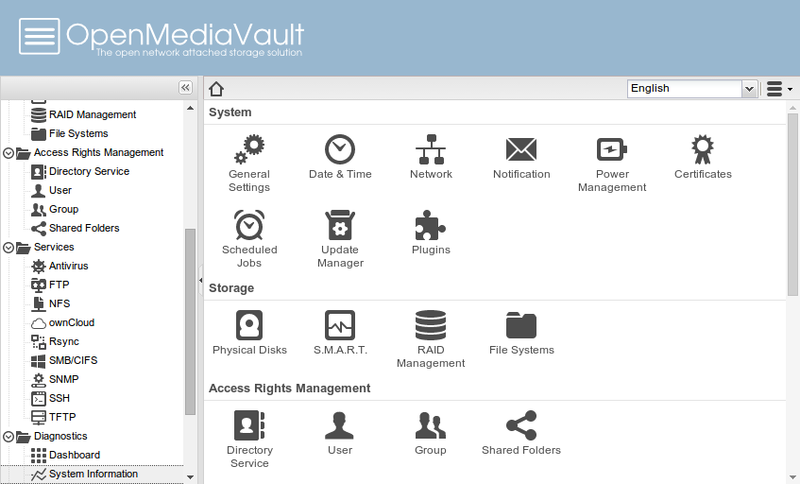
Step 3: Set IP address by running an ifconfig command Step 4: Proceed to access the web interface of the NAS by imputing the newly created IP address in a browser on a PC or another device. Step 5: Log in using the credentials below:
User: adminPassword: openmediavault
Done all these correctly? Then you have successfully created a Raspberry Pi-powered NAS device. You can then further proceed to make some customization and modify some of the default settings to your preference. Some post set-up actions to take include:
Activating SSH, Antivirus, FTP, SNMP, CIFS/SMB, and other needed protocols.Change the default web passwordInstall third-party plugins like Plex Media ServerSetup file systems for each drivesCreate as many shared folders as you wantGive access to friends, colleagues, family
A Raspberry Pi NAS server would save you hundreds of dollars compared to purchasing a pre-assembled unit. However, going for this type of NAS device would mean you’d be sacrificing some features like waterproofing, streaming large files, configuring hard drives in a RAID setup, and of course, speed. Otherwise, a Raspberry Pi NAS would perform just as good as a regular pre-assembled NAS box, but you need to know what you are doing. Source: screenshot images from WindowsCentral


